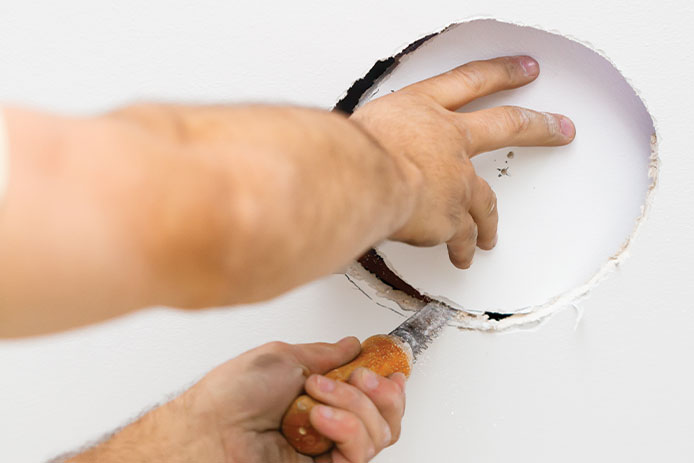
A bathroom exhaust fan does a lot more than just deal with the potential of unpleasant odors. It also helps reduce humidity levels so that mildew and mold are less of an issue in the bathroom. Without an exhaust fan, bathrooms tend to stay damp and even become a little sticky over time. Yet not just any bathroom fan will do. By properly sizing the exhaust fan and installing it with care, you’ll enjoy a drier and better-ventilated bathroom.

Choose an Exhaust Fan
If you want to install the exhaust fan directly over a tub or shower, it will need to be rated for this kind of installation and must be wired in with GFCI connectors. This will prevent increased fire risk from humidity that could otherwise short out the electrical wiring. Exhaust fans installed anywhere else don’t need this precaution.
When sizing the fan to the bathroom, start with the square footage of the bathroom. This is found by multiplying the length, width, and height of the room. For example, a 10-foot by 8-foot bathroom would have a square foot measurement of 80. Looking for a fan designed for an 80 CFM will result in good ventilation effects. For rooms over 100 square feet, add 50 CFM for every humidity increasing fixture like a tub or shower.

Mark and Cut the Rough Opening
If you’re removing an old exhaust fan that’s the same size, all you need to do is pull out the old fixture and fit the new one. In most cases, you’ll need to cut a whole new opening or, at least, make the existing opening larger. Choose a space near at least one joist or perfectly between two to ensure there’s space for the hangers for the fan’s housing.
Hold the fan’s housing to the ceiling and mark its shape with a pencil. Then push a 3-inch long nail into each corner of the square. Go into the attic to find the nails and cut between them for a smooth opening. If you can’t access the attic, you’ll need to cut the drywall from inside the bathroom and won’t need the nails. The plastic cover around the fan will hide small imperfections. So a reciprocating saw will provide a clean enough cut.

Route the Exhaust Vent
Once there’s a rough opening for the fan itself, you’ll know how far you need to run the exhaust vent. This material is flexible, but avoid bending it sharply to reach the nearest wall or roof surface. Roof venting will require you to climb on top and mess with the shingles. For most homeowners, venting through the wall is the easiest method. Try a large hole-cutting drill attachment to cut two or three-inch holes for the majority of vents. Larger vents will need the reciprocating saw used for the ceiling cuts. Once you have the vent opening on the outside wall, install the vent duct from that side and leave it dangling where it will attach to the fan.

Turn Off Power
Before you attach the fan, you’ll need the power off. Make sure to cut off the breaker to the bathroom or the entire home for greater safety in case of former wiring mistakes.

Mount the Fan
The fan will need housing brackets to hold it against the ceiling joists so it doesn’t rest solely on the drywall. As long as you located the joist properly in the previous step, it should be as simple as screwing or nailing the brackets into the joist around the sides of the rough opening.
Lift the fan housing into place and let it rest on the mounting brackets. Test the fit and make sure there are no depth issues or obstructions between the wiring or ducts and the fan.

Connect the Duct and Wires
Connect the wiring first, using wire connectors to ensure a tight join between the house wiring and the new wires on the fan. If there is no existing connection from a former fan, you’ll need to use a wire tape to fish the wire through the wall and down to a wall switch. Two-wire cable is sufficient for fans alone, while three-wire cable is required for models with lights or heating elements. Connect the duct last, slipping the hose clamp over the material and tightening it.

Run a Test
Finally, run a test of the fan before attaching the face cover and calling the job done. Switch the power back on, then flip the switch. Run all the modes of the exhaust fan for a few minutes to ensure there’s no overload or interruption of service that indicates a wiring issue. If all goes well, you can just pop or screw on the cover and admire your new exhaust fan.
Improve your bathroom in just a few hours by installing an exhaust fan. Upgrade for a more powerful model or a unit with lights if you’re tired of the noisy old fan in your bathroom.
While do-it-yourself projects can be fun and fulfilling, there is always a potential for personal injury or property damage. We strongly suggest that any project beyond your abilities be left to licensed professionals such as electricians, plumbers, and carpenters. Any action you take upon the information on this website is strictly at your own risk, and we assume no responsibility or liability for the contents of this article.


